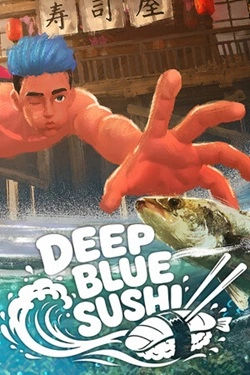
Deep Blue Sushi
2026
Before diving, you can select the necessary equipment for a specific task. Some tools help catch fish, others will be useful
Open card ARTICSTRACKER
2023 · Windows · EdgarShrodinger
1. Earlier versions of this mod: If you have installed version 1.0.1 or earlier of this mod in RCP 14, please deactivate, uninstall and delete the .gp files via the RCP Mod Loader. If you used the ‘Overwrite Method’ of installation, either reinstall/repair your game via Ubisoft Connect/Uplay, Steam, GOG or through the DVD Installer, or repeat the ‘3c Overwrite Method’ in the instructions below. If you have installed version 1.2 or 1.3 through means of a patch, you should not need to uninstall the previous version as RCP should detect that it’s an upgrade and take care of the process automatically. However, you can always uninstall the old versions if you wish by clicking on the little red bin icon over an already installed mod when you’re browsing through the currently installed mods window. ‘Overwrite methods’ must always be overwritten again or repaired when installing a new version of the mod. 2. Special note for users installing Helena’s Nude or Skimpy patch: Due to the way the game works, it is not possible to have any of Helena’s nude or skimpy patches look correct for both ‘Moseying the Mountain’ and ‘Riding the Storm’ at the same time. (Or, at least not one I could find after trying everything I could think of.) Instead, there are a few choices: Option 1: Have both patches installed and simply toggle which one is active in the RCP mod loader. You do this by the following: Install your preferred patch with Helena as well as the equivalent ‘Gathering’ version. Have only the standard one active. When you get to ‘Riding the Storm’, quit the game, open RCP, toggle the currently ‘On’ patch with Helena to ‘Off’ and toggle her ‘Gathering’ version to ‘On'. You’ll have to swap it back when you wish to play ‘Moseying the Mountain’. Option 2: Install the standard nude patch and do nothing. It’ll look odd for the one instance you see it but doesn’t break the game or stop you from playing. Option 3: Install Helena’s Topless version instead. She won’t be completely naked, but she’ll look fine for both levels. 3a. All-in-1 Patch (The extra easy method which installs my favourite choices.) Open Rayman Control Panel and click on ‘Manage Mods’ under the Mod Loader for Rayman Origins. The Mod Loader will open. Click on ‘Install from file’. An Explorer window will open. Navigate to the ‘3a All-in-1Patches’ folder. Choose either Topless or Nude. (Pick only ONE (1)!) Select and activate the patch in the ‘Installed mods’ list for Rayman Origins. The load order doesn’t matter for this kind of patch. Click apply. (This may take a minute or two as the RCP is recompiling the archive for the game.) Done! Run the game like normal! Topless contains the following choices: Betilla topless, Holly topless + piercings, Edith topless, Annetta topless + piercings, Helena topless, Voodoo Mamma topless + piercings. Nude contains the following choices: Betilla nude + bush, Holly nude + piercings + bush, Edith nude, Annetta nude + piercings, Helena nude + bush, Voodoo Mamma nude + piercings + bush. Skimpy contains the following choices: Betilla skimpy + bush, Holly skimpy + bush, Edith skimpy, Annetta skimpy, Helena skimpy + bush, Voodoo Mamma skimpy + piercings + bush. 3b. Individual Patching (The easy method.) Open Rayman Control Panel and click on ‘Manage Mods’ under the Mod Loader for Rayman Origins. The Mod Loader will open. Click on ‘Install from file’. An Explorer window will open. Navigate to the ‘3b Nymph Patches’ folder and open each compressed folder that you want to install for each Nymph. Every Nymph has several patch variants to choose from. Helena patch users, please check page 1 for more info! You can install multiple variants if you want to, but make sure that there’s only ONE (1) for each Nymph active at any one time! (RCP should warn you if this is the case.) Select and activate the patches in the ‘Installed mods’ list for Rayman Origins. The load order doesn’t matter for this kind of patch. Click apply. (This may take a minute or two as the RCP is recompiling the archive for the game.) Done! Run the game like normal! 3c. Overwrite Method (Manual, always on method. The choice you should pick if something in the 3a/3b method doesn’t work. This always works if applied correctly. ) 1. Unzip the compressed ‘3c Overwrite Method’ folder in the mod pack you’ve downloaded. I’d highly recommend using 7-Zip to unpack it because of Windows compatibility issues with long file names. The resulting folder is approximately 1.3GB in size, so make sure you’ve got space! 2. Open the Rayman Control Panel and click on Rayman Origins from the left side of the window. 3. Under ‘Archive Explorer’ click ‘Open’. 4. Navigate to the appropriate destination according to the information and table below in section 4. 5. Right-click each sprite sheet file (.tga.ckd files) that you wish to modify in the explorer window and click ‘Import’. 6. Replace the normal nymph sprite sheets with the ones that you want from the ‘3c Overwrite Method’ folder. 7. Once
en
b4a87bbfb80cc6277bf646c2d1c2df90c85063002026
Before diving, you can select the necessary equipment for a specific task. Some tools help catch fish, others will be useful
Open card
2026
Planning plays a crucial role in daily work. You can independently decide where to place items, how to organize passages and ca
Open card
2026
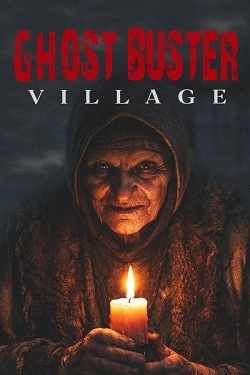
The environment gradually reveals the history of this place through unusual details. Old amulets hang on trees, rituals remain in the houses
Open card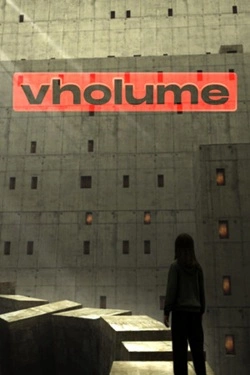
2026
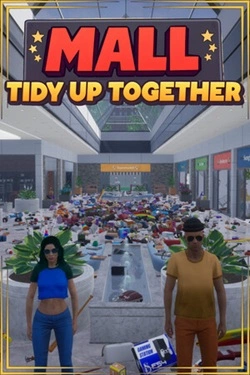
In the shopping center, there are 3682 different products distributed among stores of various categories. There is a supermarket
Open card
2026
Three weeks become the foundation for developing relationships between characters. Shared time allows for gradual understanding
Open card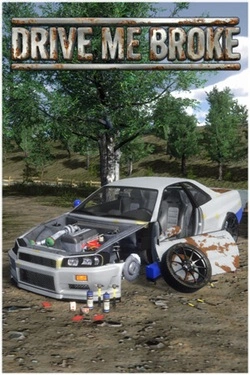
2026
Car is assembled down to the details: you can disassemble old cars, repair parts and manually work on mechanics. More so
Open card ARTICS TOOLSОнлайн-инструменты для работы с изображениями, файлами, QR-кодами и веб-технологиями.
 ARTICSNETДомены, хостинг, DNS, SSL, электронная почта и управление интернет-сервисами в единой платформе.🚧 Скоро запуск · В разработке
 ARCTICS NETWORKПроверка IP-адресов, доменов, DNS-записей и диагностика сетевых подключений.